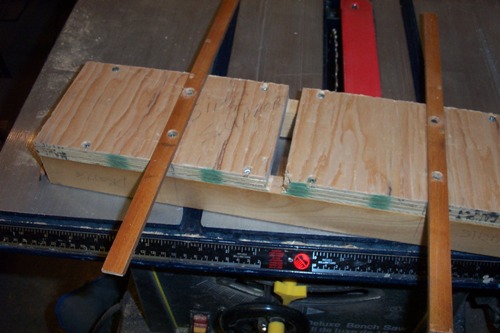
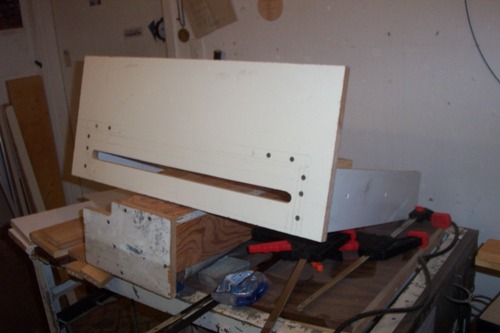
Jigs you want?
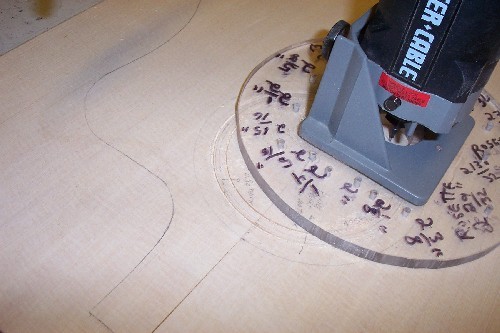
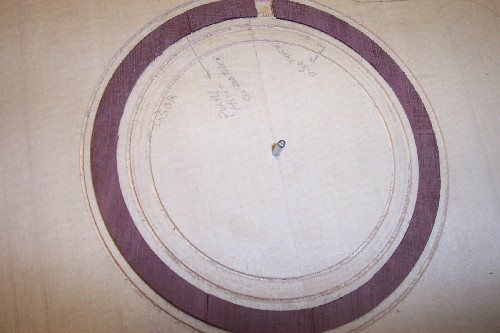
Ok, here's my rosette cutter jig, just a round piece of plexiglass with the router centered and fixed from underneat, you can repeat the same patterns over and over by deciding what diameters you'll need and pierce 1/8" holes for a 1/8" pivoting pin at half the distance of each diameter chosen!
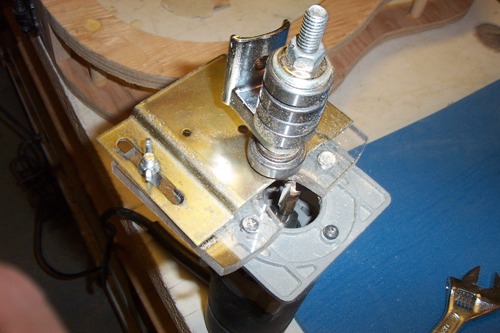
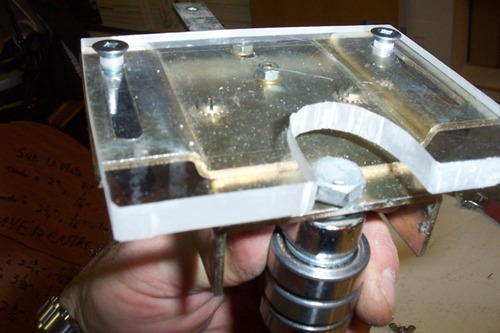
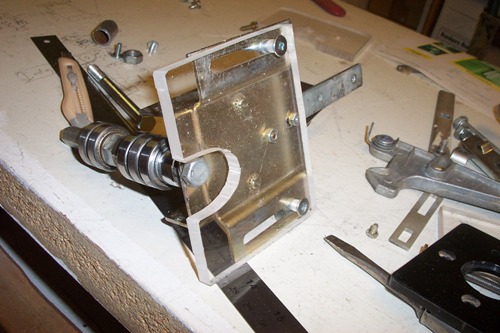
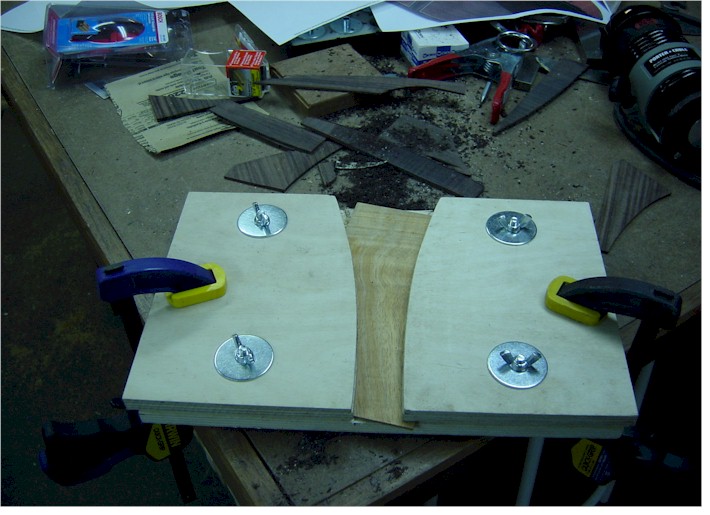
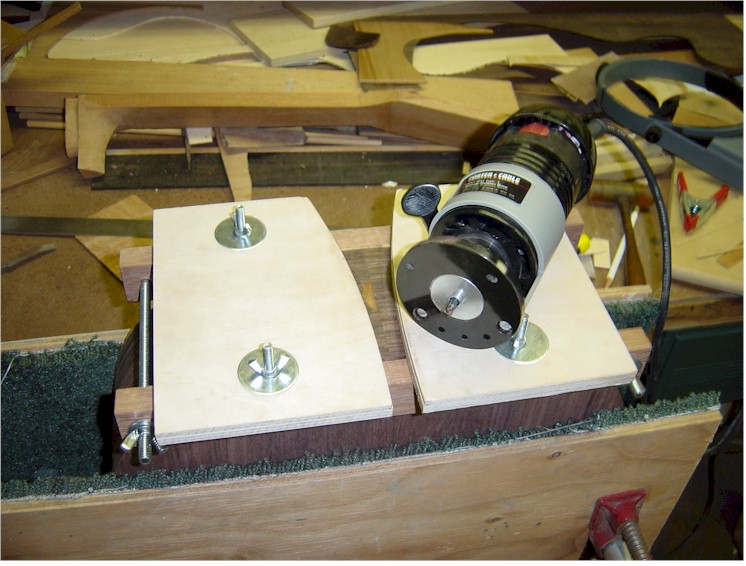
My binding and purfling cutter jig, assembled with scrounged metal and plexiglass parts, it would be difficult to describe the parts, i just built it as i went with bearings bolts and wing nuts, the only thing i was looking for was to have this jig indexing from the sides and rolling well, i can adjust the height or depth of cut manually...
And my fretboard radiussing jig, you can make compound radiuses or same radius on the whole fretboard with it, thanks to my bud Al Peebles for that ingenious jig and plan! It's got a swing underneath the main table and the router slides over that huge slot. The fret board sits on the swing underneath, it can swing to different arches, you decide where you want your pivoting points, 12, 14, 16,...20" radius! You just clamp the jig to your workbench.
Ok, i could go on and on but i'll let the geniusses here give ya some more!  Serge Poirier38984.7240856482 Serge Poirier38984.7240856482
|
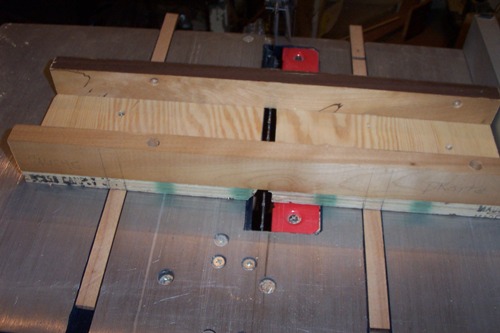
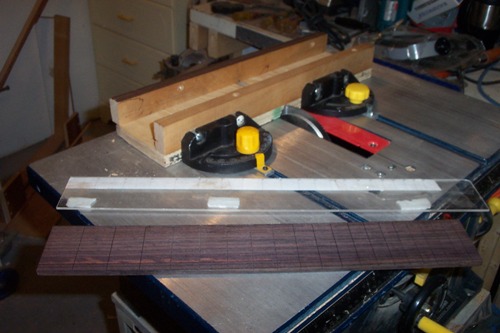
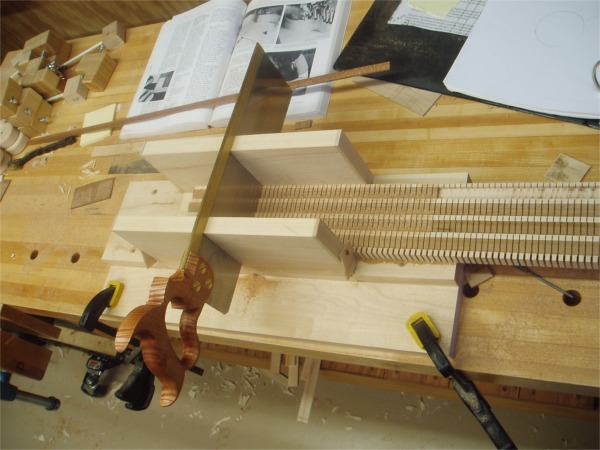
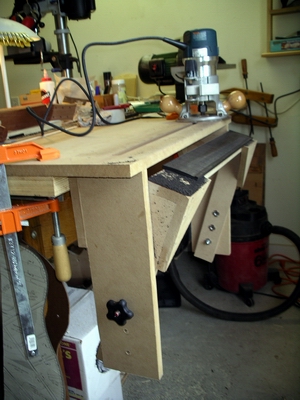
 here's another one, my sled for cutting the fretboard slots, i use it on the table saw with a fretsaw blade that i purchased from Shane. With the WFRET program, i made a 25.4" scale plexiglass template that i put in the sled to make the cuts at their precise locations. i put the fretboard upside down first and the template on top of it and with a center line scribed into the wood, right over the blade's center, i slot the fretboard easily!